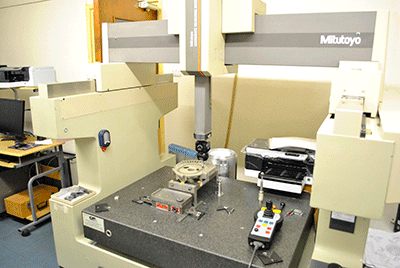
For many years we have understood that purchasing the latest high quality C.N.C machinery is not a guarantee of component compliance. Therefore, to continue our high standards, we have invested in quality assurance equipment including five C.N.C co-ordinate measuring machines, complete with probe changers. These machines can be programmed by our skilled and qualified engineers using customer solid models when supplied.
We have continued with this investment, with our latest additions including:
- A fully integrated calibration software & hardware system;
- The latest Baty computerised shadowgraph with lens turret & edge finder; and
- A Baty height gauge
Over the years, our customers have gained full confidence in our inspection abilities, so much so, that they often use our inspection department as a third party facility to inspect other suppliers’ work.
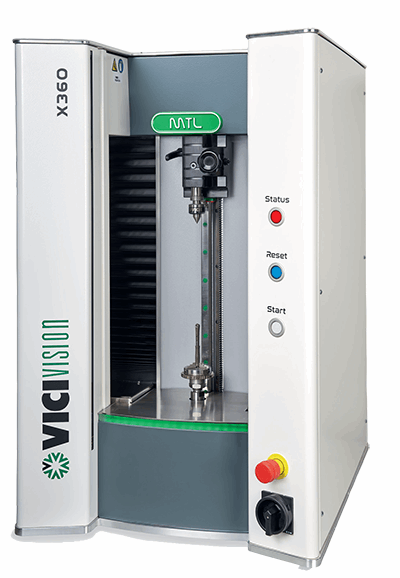
Series X MTL X360
 High resolution and generous field of view.
Very high-resolution images combined with a wide measuring field. Designed to measure the intricate parts of medical components, as well as larger parts and medium-sized shafts. VICIVISION X360, the only machine on the market that combines a measuring range of 300x60 mm with a resolution comparable to a 400 / 500X projector.
Objective measurements.
Operators can check the entire external profile of the part in a few seconds and produce an objective measurement report with no human intervention. Ideal for manufacturers of prototypes in industries such as the medical sector, where traceability of data and measurements is essential - the machine saves a profile photo for verification of the dimensions even after shipment to the customer.
Attention to design
Large illuminated access areas make loading and unloading even the smallest and most difficult parts quick and easy. The stainless-steel casing protects the optics against dust and facilitates regular cleaning. The low rotation resistance of the upper tailstock means it can be used even with very small parts.